GitLab Service
The GPU cluster runs a self-hosted GitLab instance. Like with the web services from GitLab.com and GitHub.com, users can pull and push code to- and from remote repositories. The version control software used to do all this is called Git. Unlike third party remote hosting, our self-hosted instance has no storage limits and users retain full control over the privacy and teamwork settings.
If you are new to version control the concepts may have a learning curve, it is recommended to find a git tutorial/introduction and play around with it first. The following sections describe how to setup and use our Gitlab.
Contents
Create an account
Using a web browser, access the GitLab page, then create an account following the on-screen instructions.
Usage
- install git, if you haven't already
- push for your local repository/repositories to our cloud, or pull existing repos from it.
There are two ways to push/pull files from the server:
- Using the http(s) protocol
https://<user>@<serverurl>:<port>/<path_to_repo.git>- or shorthand:
<server>:<user>/reponame - With gitlab http, the user is your account user name. Users should be prompted for their password.
- or shorthand:
- Using the ssh protocol
ssh://<user>@<server>:<port>/<path_to_repo.git>- or tcp shorthand:
<user>@<server>:<accountname>/<reponame.git> - With gitlab ssh, the user is
gitand requires a pre-uploaded SSH key. No password prompt.
- or tcp shorthand:
SSH is the recommended method. Our current SSH port is 10022. HTTPS uses the default port 443 (via proxy). The ssh server is the same as this wiki: hpc.radiology.hku.hk. For http the server url is hpc.radiology.hku.hk/gitlab (note the additional path in the url).
Example
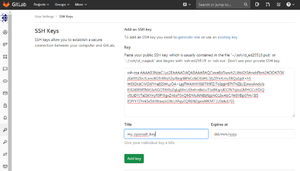
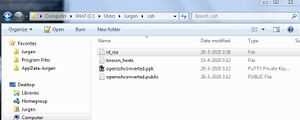
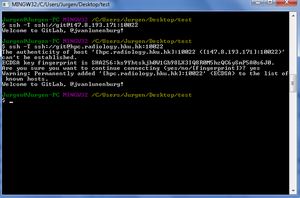
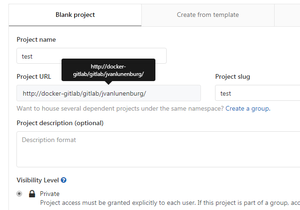
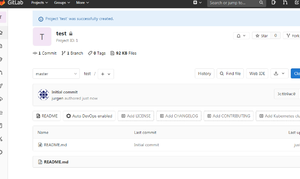
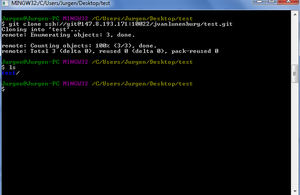
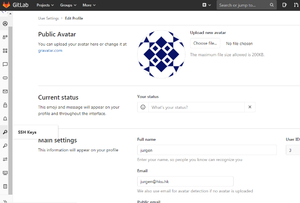
Demonstation: Adding SSH key and pulling from remote
Example steps: Pushing via http
Create or copy a repository as with normal Git workflow, then:
git remote add origin [url]/[username]/[reponame]git push --set-upstream origin master- You will be prompted for your GitLab credentials (on Windows), if entered correctly it will push your local to the remote, creating a new remote repository if necessary. Subsequent pushes do not require credential input (configurable time window).
- If you have trouble authenticating, check if your correct user name is being used (especially if you use a different name on e.g. Github). Set it explicitly using
git remote set-url origin https://<username>@<url>/<username>/<reponame>.git
Example steps: Pushing with SSH key
- Add a public SSH key (e.g. RSA type generated by
ssh-keygen) to your GitLab profile using the web interface. - Add your private key to your client git's
.sshfolder. If it doesn't exist, create the folder. E.g. for the Windows git MSYS commandline docd ~/andmkdir .ssh, then copy the private ssh key into it. - Test the key by running
ssh -T git@147.8.193.174from Git Bash. You should get a personalised welcome message. - Now the remote add line from above becomes:
git remote add origin git@147.8.193.174:<username>/<reponame>.git
Access Management and Sharing
You can set repositories to private and invite users with different permission levels. You can invite either individually or in bulk via a Group.
Alternatively, you can move your repository to a Group namespace (e.g. Radiology), in which case member access depends on their Group Role. Depending on your own role in that Group, you may lose some admin-related rights for the repository.
If you are not part of a (private) Group, request with a Group Owner to be added. For public Groups you can use the GitLab "explore groups" feature to make a request.
